http://john-goodwin.blogspot.com/2011/10/loading-to-epma-planning-applications_02.html
http://john-goodwin.blogspot.com/2011/10/loading-to-epma-planning-applications_8223.html
http://john-goodwin.blogspot.com/2011/10/loading-to-epma-planning-applications_09.html
http://vijayhyp.wordpress.com/2011/09/15/loading-planning-metadata-from-oracle-table-using-oracle-data-integratorodi/
miércoles, 15 de agosto de 2012
lunes, 13 de agosto de 2012
Error al instalar OHTTP, instalar la libreria para linux red-hat 6.3
From the logs there seems to be an issue installing Oracle Configuration Manager.
I had a similar problem in the past it was down to the following packages not being installed in linux
glibc-devel and glibc - 32bit
Once I installed them and reinstalled the common components installed successfully.
Cheers
John
http://john-goodwin.blogspot.com/
I had a similar problem in the past it was down to the following packages not being installed in linux
glibc-devel and glibc - 32bit
Once I installed them and reinstalled the common components installed successfully.
Cheers
John
http://john-goodwin.blogspot.com/
ulimit -n 4096
4. Manually configured the File descriptor limit to 4096 as required by the installer with the following command:
root@computer# ulimit -n 4096
root@computer# ulimit -n 4096
domingo, 12 de agosto de 2012
Install Open Source VMware Tools on Red Hat Enterprise/CentOS/Scientific Linux 6
Install Open Source VMware Tools on Red Hat Enterprise/CentOS/Scientific Linux 6
VMware now makes a repository available for us to install the VMware tools for a variety of Linux distributions including Red Hat, Scientific, CentOS, and Ubuntu. In this example I will install VMware tools on a Red Hat Enterprise/CentOS/Scientific Linux 6 guest running on a VMware ESXi 4.1 host.First import the VMware repository GPG signing public keys:
# rpm --import http://packages.vmware.com/tools/keys/VMWARE-PACKAGING-GPG-DSA-KEY.pub# rpm --import http://packages.vmware.com/tools/keys/VMWARE-PACKAGING-GPG-RSA-KEY.pubNow add the VMware repository. If you’d like you can use the “echo” command below or simply create the file and its contents are listed below it. There are other packages available in the repository for other Linux distros, architectures, and ESX host versions. Again I am using the Red Hat Enterprise 6/VMware ESXi 4.1 version.
# echo -e "[vmware-tools]\nname=VMware Tools\nbaseurl=http://packages.vmware.com\/tools/esx/4.1latest/rhel6/\$basearch\nenabled=1\ngpgcheck=1" > /etc/yum.repos.d\
/vmware-tools.repoNow we can list the contents of the new repo file:
[root@server1 ~]# cat /etc/yum.repos.d/vmware-tools.repoHere is what the contents should look like:
[vmware-tools]

name=VMware Tools

baseurl=http://packages.vmware.com/tools/esx/4.1latest/rhel6/$basearch

enabled=1

gpgcheck=1
It is now time to run the actual install of VMware tools. In my case I am installing on a server system without X11 graphical interface so this is the minimum install:
# yum -y install vmware-open-vm-tools-noxIf you are installing on a workstation or server with X11 installed and would like the VMware display adapter and mouse drivers loaded use this command. The install will be a bit bigger:
# yum -y install vmware-open-vm-toolsYou are now up and running with VMware tools!
fuente: http://aaronwalrath.wordpress.com/2011/03/24/install-open-source-vmware-tools-on-red-hat-and-scientific-linux-6/
Oracle Linux 6 Installation
Oracle Linux 6 Installation
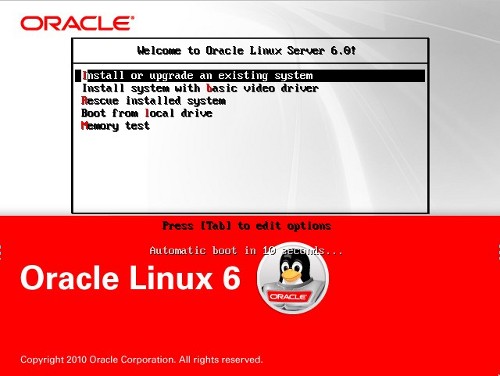
This article provides a pictorial guide for performing a default installation ofOracle Linux 6.Basic Installation
- Boot from the DVD. At the boot screen, press the "Enter" key.
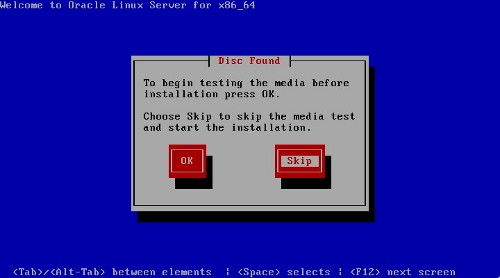
- Press the "tab" key to move focus to the "Skip" key, then press the "Enter" key to continue.
- On the "Welcome" screen, click the "Next" button.
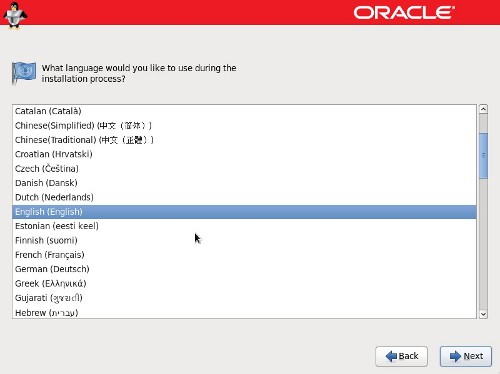
- Select the appropriate language, then click the "Next" button.
- Select the relevant keyboard setting, then click the "Next" button.

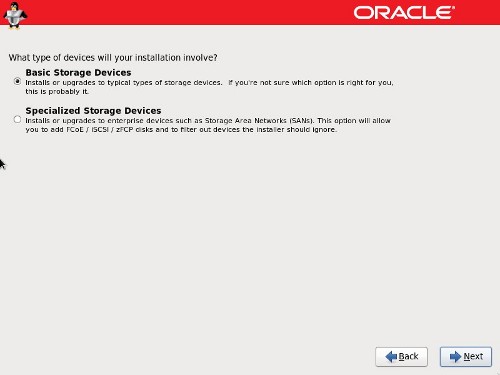
- Select the storage option necessary for the installation, then click the "Next" button.
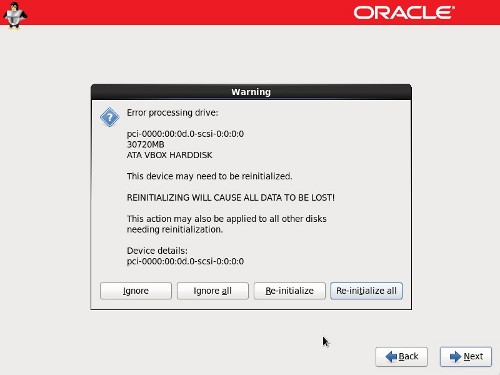
- Click the "Re-initialize all" button on the disk initialization warning dialog.
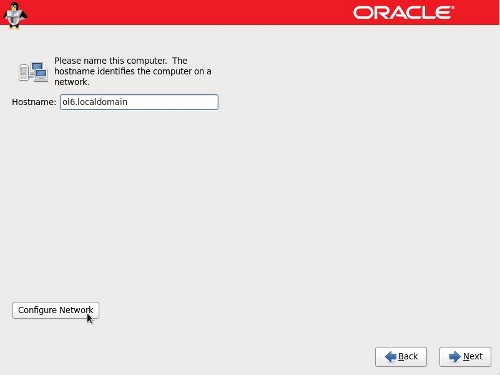
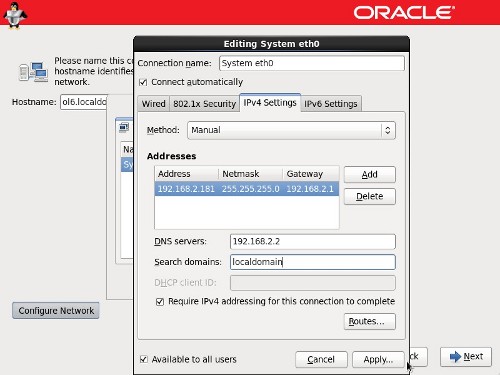
- Enter a fully qualified host name, then click the "Configure Network" button.
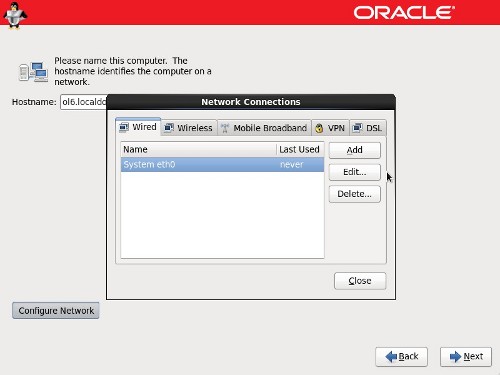
- Highlight the relevant connection and click the "Edit" button.
- Check the "Connect automatically" checkbox. If you are not using DHCP, click on the "IPv4 Settings" tab, set the method to "Manual", click the "Add" button and enter the appropriate network details. When you are happy with the details, click the "Apply" and "Close" buttons to return to the host name screen, then click the "Forward" button.
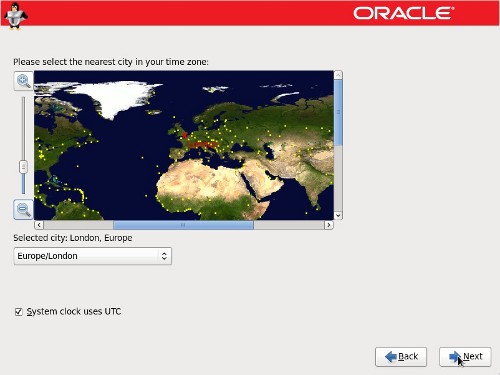
- Select the relevant time zone by clicking on your nearest city on the map. Click on the "Next" button to proceed.
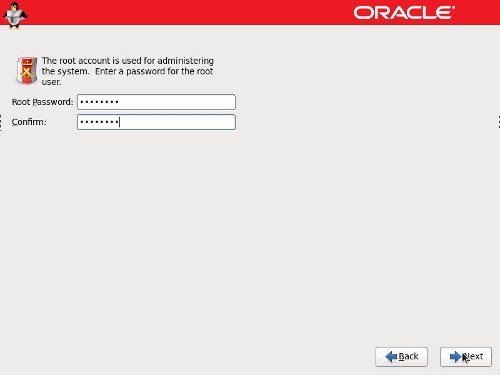
- Enter a root password for the server, then click the "Next" button to proceed.
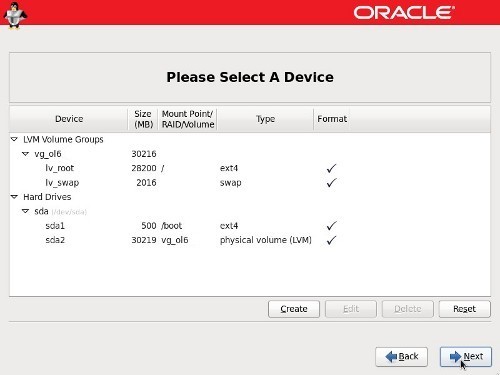
- Check the partitioning type you require. If you want to amend the default partitioning layout, check the "Review and modify partitioning layout" option. Click the "Next" button.
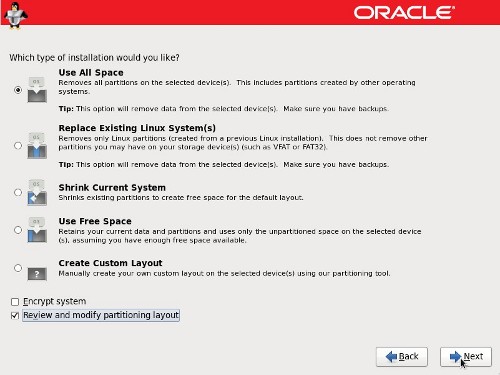
- The installer will list the default partitioning scheme for your size disk. Amend them as required and click the "Next" button, then the "Format" and "Write changes to disk" buttons on the following dialogs.
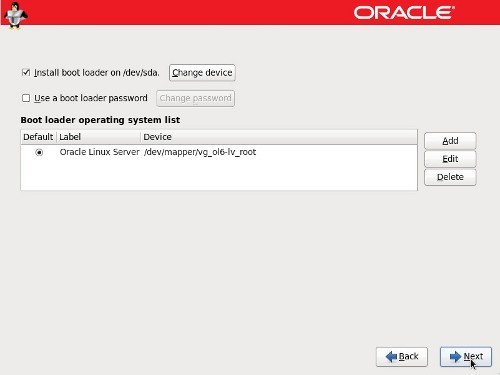
- Accept the boot loader settings by clicking the "Next" button.
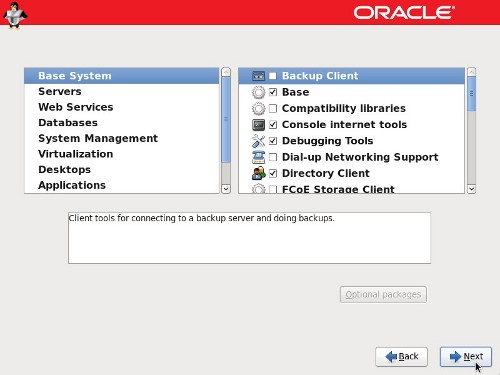
- Accept the "Basic Server" installation and check the "Customize now" option, then click the "Next" button.

- The "Package Group Selection" screen allows you to select the required package groups, and individual packages within the details section. When you've made your selection, click the "Next" button. If you want the server to have a regular gnome desktop you need to include the following package groups from the "Desktops" section:
- Desktops
- Desktop
- Desktop Platform
- Fonts
- General Purpose Desktop
- Graphical Administration Tools
- X Windows System
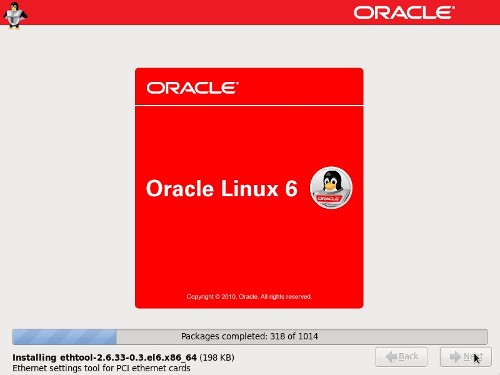
- Wait for the installation to complete.
- Click the "Reboot" button to complete the installation.

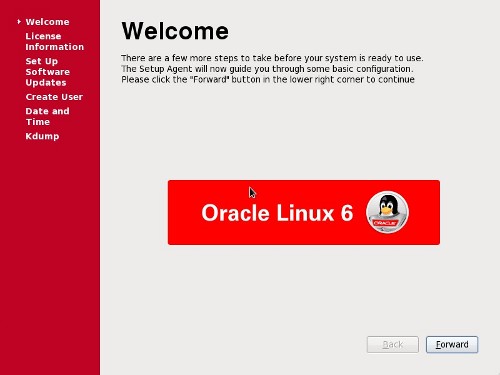
- On the "Welcome" screen, click the "Forward" button.
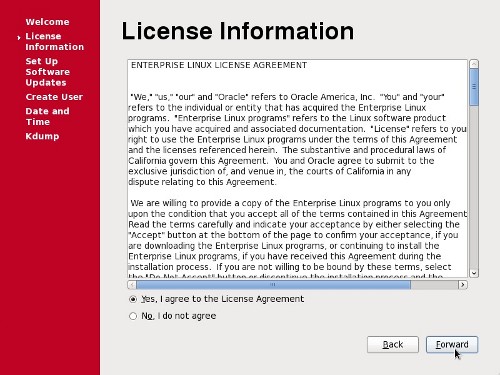
- Accept the license agreement and click the "Forward" button.
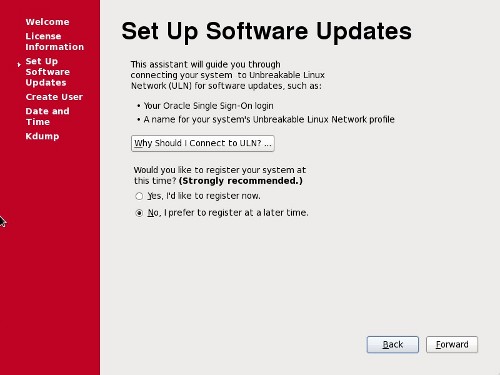
- Pick the desired ULN Registration option, then click the "Forward" button. In this case we will pick the register later option.
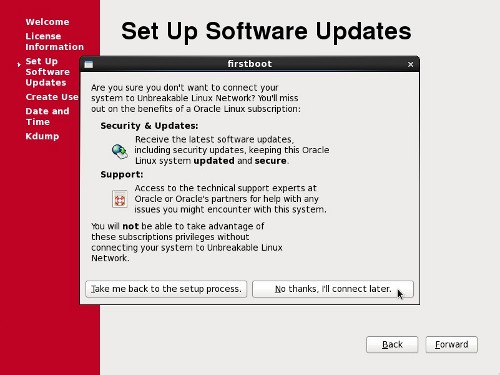
- Click the "No thanks, I'll connect later." button.
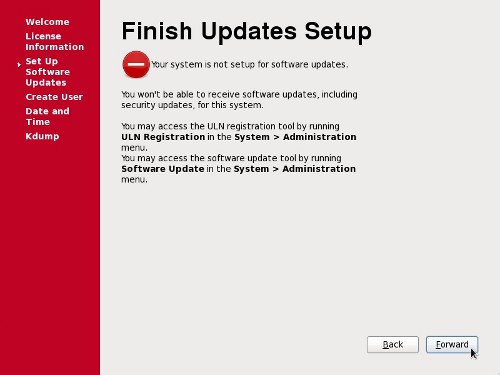
- Finish the software updates setup by clicking the "Forward" button.
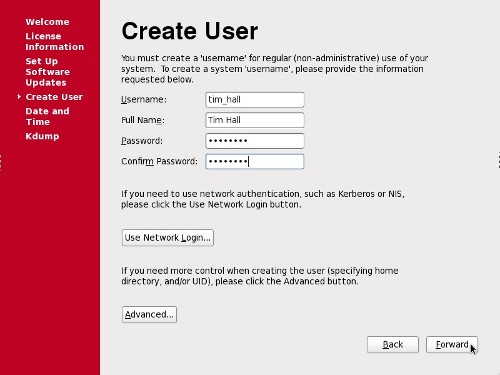
- Enter the details for system user, then click the "Forward" button.
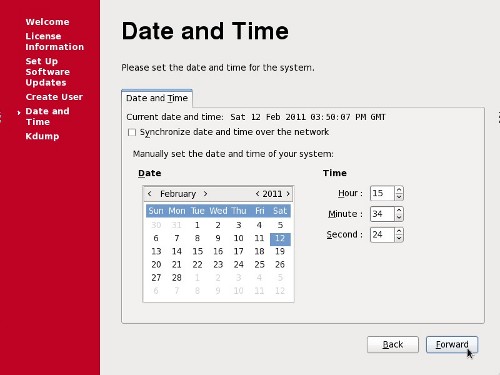
- Adjust the Date and Time settings if necessary, and click the "Forward" Button.
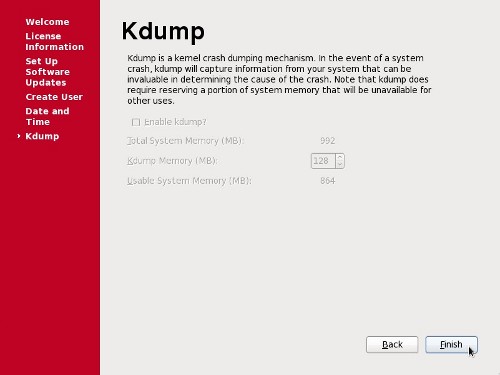
- Accept the default setting on the Kdump screen by clicking the "Finish" button.
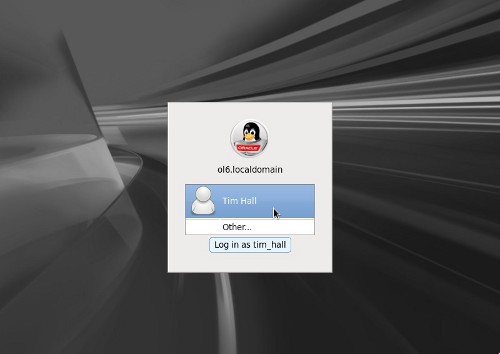
- Next, you are presented with the login screen. Log in by clicking on the user on the login screen.
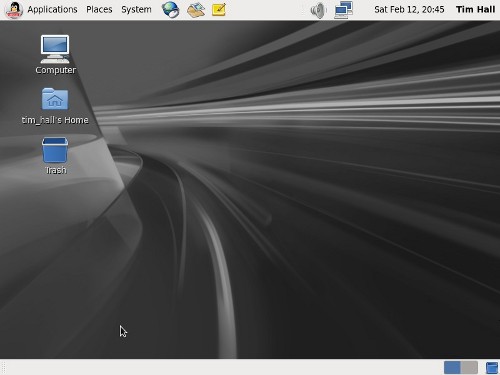
- Once logged in, you are ready to use the desktop.
Firewall
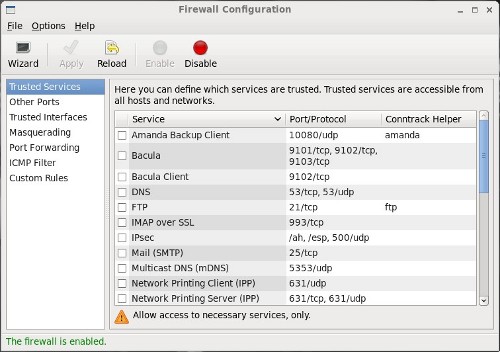
To turn off the firewall do the following.- Open the "Firewall Configuration" dialog (System > Administration > Firewall).
- Click the "Close" button on the startup dialog and type in the "root" password if requested.
- On the resulting dialog, click the "Disable" button, followed by the "Apply" button on the toolbar.
- Click the "Yes" button on the confirmation dialog.
- Quit the "Firewall Configuration" dialog.
SELinux
Disable SELinux by editing the "/etc/selinux/config" file, making sure the SELINUX flag is set as follows.Once the change is complete, restart the server.SELINUX=disabled
For more information see:
Suscribirse a:
Entradas (Atom)